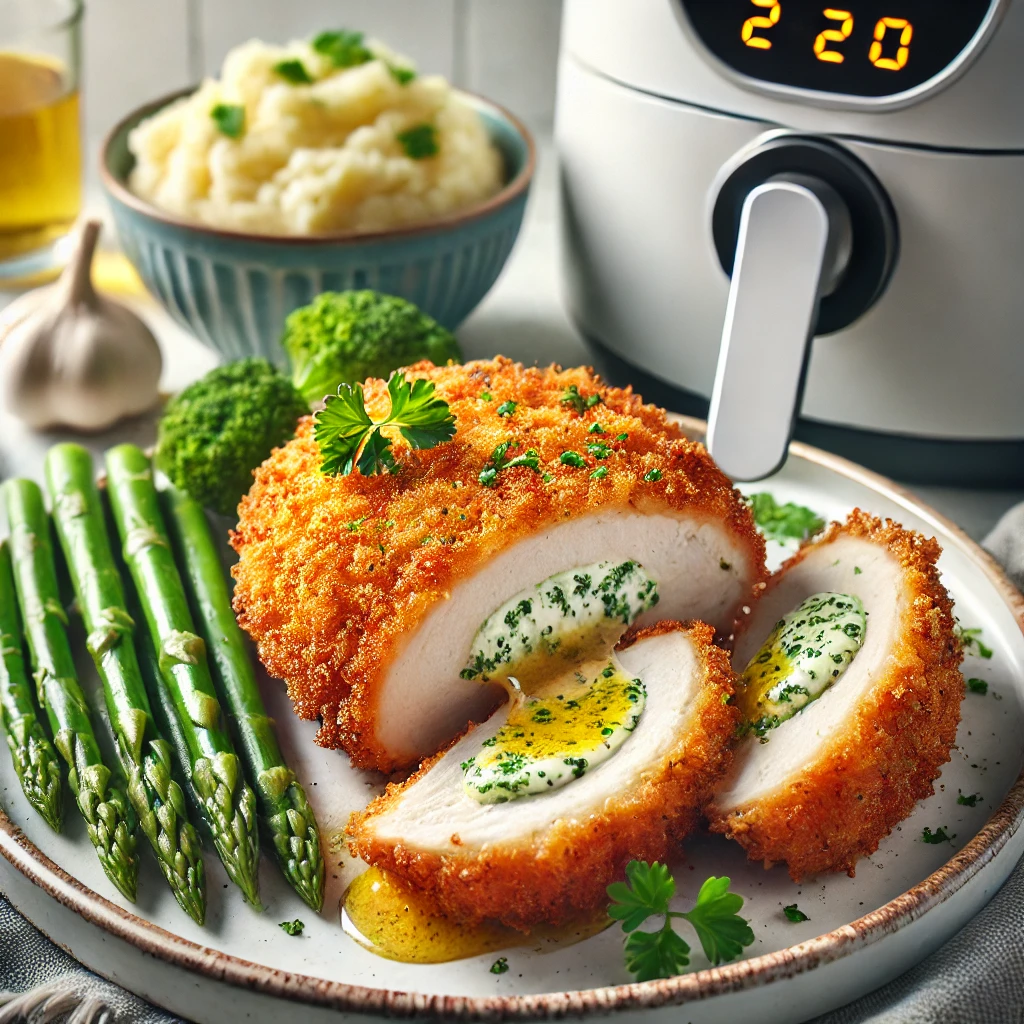
Making Chicken Kiev air fryer is a game-changer for anyone who loves this classic dish but wants a healthier twist. Whether you’re working with fresh, chilled, or frozen chicken Kiev, the air fryer ensures a crispy, golden crust while keeping the inside juicy and packed with flavour. It’s a quick and easy way to recreate a restaurant-quality meal right at home, perfect for busy weeknights or a special dinner treat.
Gone are the days of messy deep frying or worrying about uneven cooking. With simple steps and minimal effort, you can master how to cook frozen chicken Kiev in an air fryer or even prepare a fresh homemade version. This guide will help you nail the perfect cooking time and technique, whether you’re using a Ninja air fryer, a traditional model, or any other brand. Let’s get started on bringing this delicious, buttery, and garlicky dish to your table!
You can also try our Mary Berry Tomato Soup.
Chicken Kiev Air Fryer Recipe: Crispy & Juicy in Minutes
Ingredients:
- 4 boneless, skinless chicken breasts
- 80g (5-6 tablespoons) unsalted butter, softened
- 2 cloves garlic, minced
- 2 tablespoons fresh parsley, chopped
- Salt and pepper to taste
- 1 cup plain flour
- 2 large eggs, beaten
- 1 cup panko breadcrumbs
- Olive oil spray
Instructions:
- Prepare the Garlic Butter:
- In a small bowl, mix the softened butter with minced garlic, chopped parsley, salt, and pepper.
- Shape the butter mixture into a small log, wrap it in plastic wrap, and freeze for about 20 minutes or until firm.
- Prepare the Chicken:
- Using a sharp knife, carefully create a pocket in each chicken breast. Be cautious not to cut all the way through.
- Slice the chilled butter into four equal portions and place one inside the pocket of each chicken breast. Secure the edges with toothpicks to seal.
- Coat the Chicken:
- Set up three shallow bowls: one with flour, one with beaten eggs, and one with breadcrumbs.
- Dredge each stuffed chicken breast in the flour, dip it in the eggs, and coat thoroughly with breadcrumbs. Press gently to ensure the breadcrumbs stick well.
- Preheat and Cook in the Air Fryer:
- Preheat your air fryer to 200°C (400°F) for 3-5 minutes.
- Lightly spray the breaded chicken with olive oil spray on all sides.
- Place the chicken breasts in the air fryer basket in a single layer, ensuring they don’t overlap.
- Air fry at 200°C for 20-25 minutes, flipping halfway through. The chicken is done when it’s golden brown, crispy, and the internal temperature reaches 75°C (165°F).
- Serve and Enjoy:
- Remove the toothpicks and let the chicken rest for a couple of minutes before serving.
- Pair with mashed potatoes, a fresh salad, or steamed vegetables for a complete meal.

Ingredients
Nutrition Facts
Servings 4
- Amount Per Serving
- Calories 2320kcal
- % Daily Value *
- Total Fat 120g185%
- Total Carbohydrate 128g43%
- Protein 160g320%
* Percent Daily Values are based on a 2,000 calorie diet. Your daily value may be higher or lower depending on your calorie needs.
Note
Notes for Chicken Kiev Air Fryer Recipe:
- Choose the Right Chicken:
- Use boneless, skinless chicken breasts for the best results. If they are too thick, you can lightly pound them to create an even thickness.
- Prevent Butter Leakage:
- Ensure the garlic butter is well-chilled before stuffing the chicken.
- Secure the pocket with toothpicks to keep the butter from leaking during cooking.
- Optimize Coating:
- For extra crispiness, use panko breadcrumbs and lightly spray them with olive oil.
- Ensure the chicken is fully coated in breadcrumbs to lock in moisture and flavor.
- Adjust for Frozen Chicken Kiev:
- Frozen chicken Kiev will require an additional 5-7 minutes of cooking time.
- Always check the internal temperature, which should reach 75°C (165°F).
- Air Fryer Tips:
- Preheat the air fryer for even cooking.
- Cook in a single layer without overcrowding to ensure each piece becomes crispy.
- Check Doneness:
- Use a meat thermometer to confirm the chicken is cooked thoroughly.
- Let the chicken rest for a couple of minutes before serving to allow the juices to settle.
- Serving Suggestions:
- Pair with mashed potatoes, steamed vegetables, or a fresh salad for a balanced meal.
- Garnish with parsley or a wedge of lemon for added freshness.
- Storage and Reheating:
- Store leftovers in an airtight container in the fridge for up to 3 days.
- Reheat in the air fryer at 180°C (360°F) for 5-7 minutes to restore crispiness.
These tips ensure your Chicken Kiev turns out perfectly every time, whether you’re using fresh or frozen ingredients!
Frequently Asked Questions
How long does a chicken Kiev take in the air fryer?
It takes 20-25 minutes at 200°C (400°F); add 5-7 minutes for frozen Kievs.
How long do you cook chicken Kievs for?
Cook for 20-25 minutes if fresh/chilled or 25-30 minutes if frozen, flipping halfway.
How long should I put my chicken in the air fryer?
Cook boneless chicken at 200°C (400°F) for 20-25 minutes until it reaches 75°C (165°F).
How to cook chicken Kiev in a Ninja air fryer?
Preheat to 200°C (400°F) and cook for 20-25 minutes, flipping halfway; add time if frozen.
Can you cook frozen Chicken Kiev in the air fryer?
Yes, cook at 200°C (400°F) for 25-30 minutes, ensuring an internal temp of 75°C (165°F).
How do I prevent the butter from leaking while cooking Chicken Kiev?
Chill the butter, seal tightly with toothpicks, and coat evenly with breadcrumbs.
